Wednesday, 6 July 2011

Smiley Faces...

Morning! I have a couple of things to share today. Firstly, some cards that are for my children to give to their Dad for his Birthday:
I am lucky enough to own a Gypsy and Cricut Expression, and though I don't use them very often, they certainly have a place in my crafting. The cards are made from the Smiley Faces cartridge that was available a few months ago as a free Gypsy download. I've kept them simple, as they are for a man so frills and fancies didn't seem appropriate! The papers I used are from Pink Paislee Hometown Summer, Crate Paper Portrait collection, Cosmo Cricket Odds and Ends and Lilybee Design This and That.
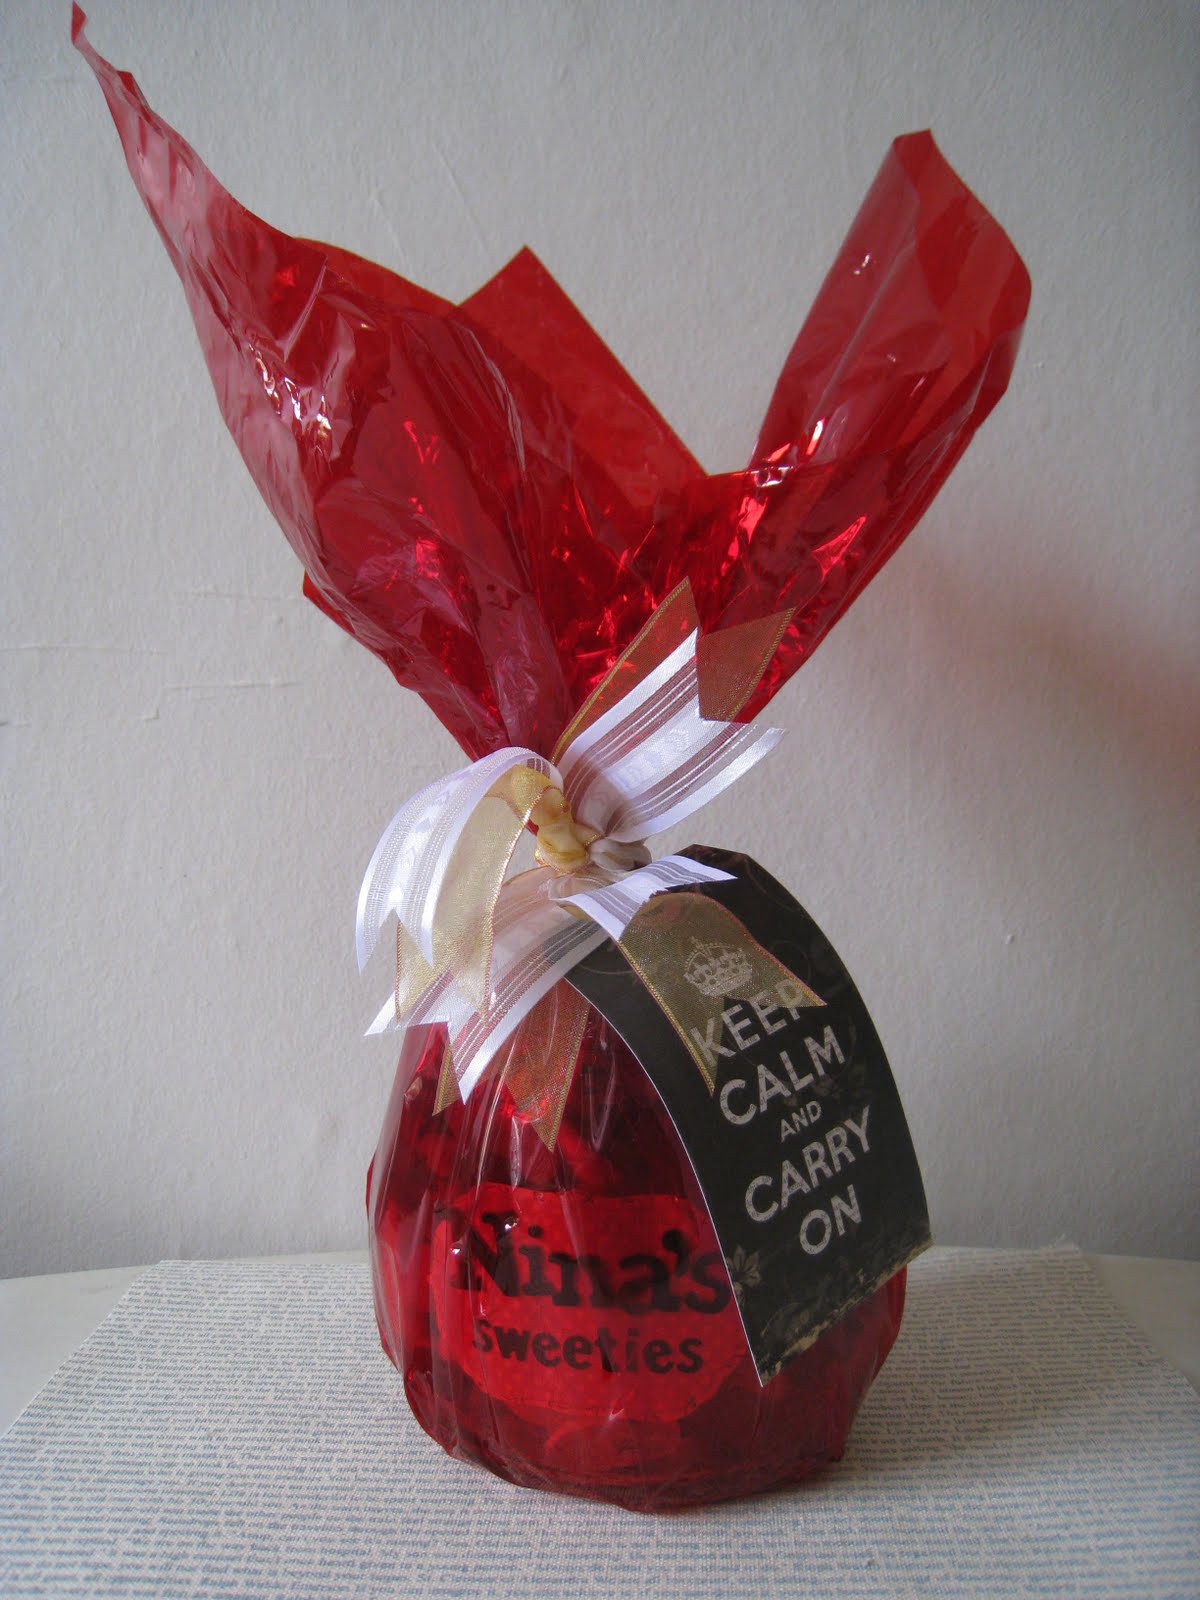
Next up, something much prettier and MUCH yummier! My best bud had her fourth child a week or so ago (she had him at home, and I was honoured to be there helping out!). I wanted to give her something that would make her chuckle. Well, she has a SERIOUS addiction to sugar, so, what better than a sweetie jar only for her? Take a look:
The jar had cherries in Kirsh in it once upon a time (always repurpose!). I filled it with Haribo's of every shape and size, before labelling it as hers, and no-one else's! Some red cellophane, pretty ribbons and a wonderful tag which I purchased from THIS girls Etsy shop - the most fabulous vintage tags and labels I think I've ever seen, and very reasonable too!
Hope you like! xxx

Tuesday, 5 July 2011

Crafty Individuals new stamps!

Morning bloggerland! I've been playing with a couple of new sets of stamps from the wonderful Crafty Individuals... sets CI-322 and CI-320.
The first set is great fun - a trio of well dressed ladies and a vintage tag...
To make this card, I created a simple easel card from a scallop card blank, then covered the base and top flap in papers from the Prima Madeline 6x6 paper stack and also the Crate Paper Portrait stack. I sanded all the scalloped edges to give a neat finish. I then stamped the ladies, and paper pieced their outfits from various collections of paper... this was time consuming, but I think worth the effort!! I coloured their skin with Promarker satin. I then added the vintage tag to the card, before placing the ladies on with 3d foam pads. The border punched 'stopper' on the base is using the new Xcut Lace Trim punch, and the lace is from my stash. I've also used Paper Pen in charcoal to make the various sized 'gems' along the bottom.
Secondly, I played with the new beautiful birdcage stamp:
I created a tag using the Tim Holtz die, then covered it with paper from the new Cosmo Cricket Odds & Ends mini deck. I added a few downloaded digital images at a jaunty angle, before stamping the image onto kraft cardstock. I coloured the flowers, leaves and bird with water colour pencils, before coating the flowers with Glossy Accents. I added Distress Crackle Glaze to the cage, and when dry gave it a coat of Pumice Stone ink to bring out the crackles. I did the same to the sentiment, before adhereing it to the tag with 3d foam pads. Everything, of course had a generous helping of Pumice Stone around it's edges to help with that aged effect!
So, I had great fun playing with these new stamps - you can find them HERE! P.S, sorry about the photo quality... the lighting's terrible this morning, but it's been toooo long since I last posted!

Wednesday, 29 June 2011

Not much craftin' going down...

Hi all - we had a wonderful couple of days at Scrapaholix, it's always so nice to get together with crafty friends!
Sadly, I have nothing to show!!! Busy weekend - I think most people in the western hemisphere know by now that my son became under 15's National Fencing Champion on Sunday (I'm so proud!). Hospice Monday, where I volunteer to craft with the patients, - lots of new ladies, so we made some cards to break them in gently! We then visited my Father in Law in Brum yesterday as he's very poorly at the moment... but coping ok with it (fingers crossed).
Today I was hoping for some paper playtime, but alas, I have a days worth of phone calls to make. My Mum has finally decided to move from the Isle of Wight to be nearer to us (YAY!), but as she is coming down tomorrow, hoping to do some viewings on Saturday, I guess I'd better line some up hadn't I?!
So, in lieu of much paper fiddling going on over the next few days, I have this to show and tell:
It's a little muslin bag, made as an inspiration piece for the next Crafty Individuals challenge - keep an eye on their blog for more details any day now! They also have some pretty new stamps available, so take a peek at them too!
The bag started off cream in colour, I used glimmer mists to make it a lovely chocolate brown.
I then stamped image plate CI-148 onto cream card, before embossing and distressing a little (of course). A little pleated crepe paper and punched borders above and below the image, some crinkled seam binding in a loose triple bow, some Orchid Crafts tiny roses - (you gotta take a look at their prices - great value,) and some pearl trim at the bottom and TaDa!!! A cute little bag for a special gift! Hope you like! xxx

Tuesday, 21 June 2011

Scrapaholix this Friday/Saturday.

Mmmmmm. Interesting kit this month. The highlight of the kit has to be the bling swirl - absolutely beautiful. I wanted to try out a new technique for creating a frame which I saw in Craft Stamper this month... so I gave it a go, using the papers from this month's kit and I'm really pleased with it... BUT, I felt that the 'busyness' of the page would overwhelm the bling. Take a look:

I'm really looking forward to teaching the girls how to make this frame - it's so versatile, as it'll go with so many photos, depending on the colours you choose. To prove the point, I made another frame, only this time with less colours, as I wanted to use the bling and for it to have room to shine! See what you think:

I felt that the bling was too stark in clear diamente, so used a brown Promarker to tone it down - I think it worked! And I'll let you into another secret... I managed somehow to get a few little splodges of ink on the base cardstock here and there whilst stamping the frame - so that's why the sequins have been scattered around - there's always a solution!
Hope you like. xxx

Friday, 17 June 2011

One of the best tips I've ever been given...

So, those people that know me, know that I am OBSESSED with Distress ink pads. I'm lucky enough to have every colour and I'm forever telling my gals that they are the best thing ever... BUT... I do have one little issue with them. They really aren't that brilliant when stamping with acrylic stamps - they don't seem to like to sit on the surface. I've tried all the usual remedies - patting the surface of the stamp with sellotape, rubbing vigourously with an eraser... but though this gives some improvement, I've not found anything to completely solve the problem.
THEN... I heard mention of somebody rubbing their acrylic stamps with sandpaper to remedy this exact issue. Yes - SANDPAPER!! "Silly girl", I thought; "she'll ruin her stamps."
Anyway, in desperation, I thought I'd try it on a stamp I'm not overly fond of... guess what? It works! Absolutely brilliantly. I spent over two hours yesterday (I own a fair few stamps lol) doing this to every stamp I own... after a little bit of cramp, and a few sheets of fine grade sandpaper, I can now reach for any of my stamps and any of my distress inks without fear of a dodgy image - fab! Here's a picture of before and after:

I don't think I need to tell you which is which - the results are obvious. So - if you want to use dye based inks on your acrylic stamps, get some sandpaper to them - it removes whatever they use in the manufacturing process which water based inks don't like better than anything else I've tried! xxx

Wednesday, 15 June 2011

Crafty Individuals June Challenge

The challenge this month is to create something in the vintage style, including hearts in the design, and obviously using their stamps or products. Here's what I came up with:

I used a 6"x6" canvas, and some Websters Pages Ladies and Gents paper. The dressform diecut is stamped with a Crafty Individuals flourish stamp, before being decorated with netting, flowers, trim, and a cute little ticket from the Crafty Individuals CI-307 set. Here's a close up:

I then diecut some chipboard hearts, and covered them in white tissue paper, stamped with images and text from the Crafty Individuals CI-306 set. This set has a beautiful dress form, some bodices and a great sized vintage reciept. I finished it all off with a little bling, a famous quote and a few pretty little butterflies. Sweet! Take a look at some of the other challenge entrants here

Tuesday, 14 June 2011

My Version of a SMASH!

Well, can you believe it - I STILL have this darn cold - have slept on the sofa for the last three nights because poor Rich was getting no sleep with me hacking away all night! But enough whinging... take a look at this:

I kept the front cover fairly one dimensional, as this little baby will be travelling around with me! The band is a 7 Gypsie's one I've had for yonks. And now just a few of the pages:

I found a wonderful You Tube vid, showing how to make a smash lookylikey, and she had some PDF's of a few pages to print out... I added to this one with some stamped images (the ink splodge and borders at the top. Next up:

Again - the 'This and That' was printed, and I added the butterfly. There's lots of different patterned papers throughout the book - I just raided my ever growing stash! and next:

Another printed page on the right,which I added the stars to, some random patterned paper on the left, and a Maya Road kraft envelope. And the last photo is showing a page that I've used:

I've had some Promarkers for a while now, but because I didn't have any image stamps I liked that were suitable for detailed colouring I haven't used them much. Most people seem to use those weird images of girls with HUGE heads, or really cutesy ones... neither really tickle me. Then I saw that Gorjuss Girls came in stamps - Yay! So I bought some, and I played.... i'm really chuffed with the results!
Well, that's it - my little book. I really recommend that you try and make one - Connie (my daughter) has a REAL Smash book, and she absolutely adores it... but i have to say theres a bit of an issue with the pages turning smoothly - they get stuck, and quite a few people have mentioned this. Mine? Those pages turn like a well oiled machine.... xxx