Hello all, just to let you know that the new Scrap365 is available very soon! As always, lots of lovely inspiration for you to enjoy xxx
Tuesday, 6 November 2012
Tuesday, 16 October 2012
PAPER-CUTS, Final Project!
The last thing we'll be making is this sweet tag:
Now, apologies for the not so great photo... the light was fading and I had to pick the kids up so was in a bit of a hurry!To bring confetti into this project I've used a couple of star punches and some glitter - the specific technique will be revealed within your instruction sheets! Also, note those letters which spell 'gift'. They are the red ones from your sticker sheet simply coloured with a black Sharpie pen, which of course, makes them so versatile for projects to come. The other thing I think you'll love is the little tag I've added to your kits. It's made from Heidi Swapp Colour Magic paper - something I'll be willing to bet you'll want to buy once you've tried it!
You won't need to bring anything extra for this project, other than what's already been mentioned. That is, unless, you are very messy with loose glitter - in which case you'd better bring along your dustpan and brush!
Right then - off to experiment with those buttons I mentioned in my first post...
Hope you like! xxx
PAPER-CUTS Part Three...
Ok... it's card time! I'm quite liking creating a card each month - you can never have too many after all! Here's this month's offering from the kit, again, continuing with the confetti theme:
Now, personally, I think that's one cute card! This time, the confetti is contained in a sweet little glassine bag, decorated with other bits from our kits. If you missed it in the first post, you can view the kits from Papermaze HERE. I've added a few bits for you to make this one - obviously a card base and envelope, the glassine bag and a lovely speech bubble die cut to colour as you wish. Things you may wish to bring along? Definitely some 3D foam pads, if possible of two differing thicknesses; some sort of clear adhesive (we attach all that heart confetti to a piece of vellum inside the bag - this stops it from bunching up at the bottom), I've got some double-sided tape, but it's not QUITE clear so if you have something better - do bring it along. And that's it!Right, off to create our fourth and final project, which is going to be a tag. I wonder what else one can possibly do with confetti.....
Hope you like! xxx
PAPER-CUTS Part Two!
Right then, here's our second layout - continuing with the confetti theme:
See those three starbursts with the heart shaped confetti? Those are made by sandwiching punched out hearts between two layers of packing tape - cute or what??So that's the main focus of this layout. You'll like this one though, as there's no other measuring involved - all of the papers have been torn to size using the edge of your ruler, just judging the size you want with your eye. AND... you can use a 4"x6" photo, whilst following the example exactly - that'll make a pleasant change for you!
Things to bring along? A ruler; Any punches you like that have at least 3 variations in size to the same shape; 3D foam pads; A fine liner black pen (doodling around those confetti starbursts really helps to focus the eye on them).
Keep checking for part three! Hope you like. xxx
Monday, 15 October 2012
PAPER-CUTS October 2012
Hello everyone - hope this blog entry finds you all well and (for those of you that attend) raring to go for this month's class! As always, you can see the kit HERE.
Continuing on with our theme of exploring popular trends in the scrapbooking world, this month we're looking at confetti!
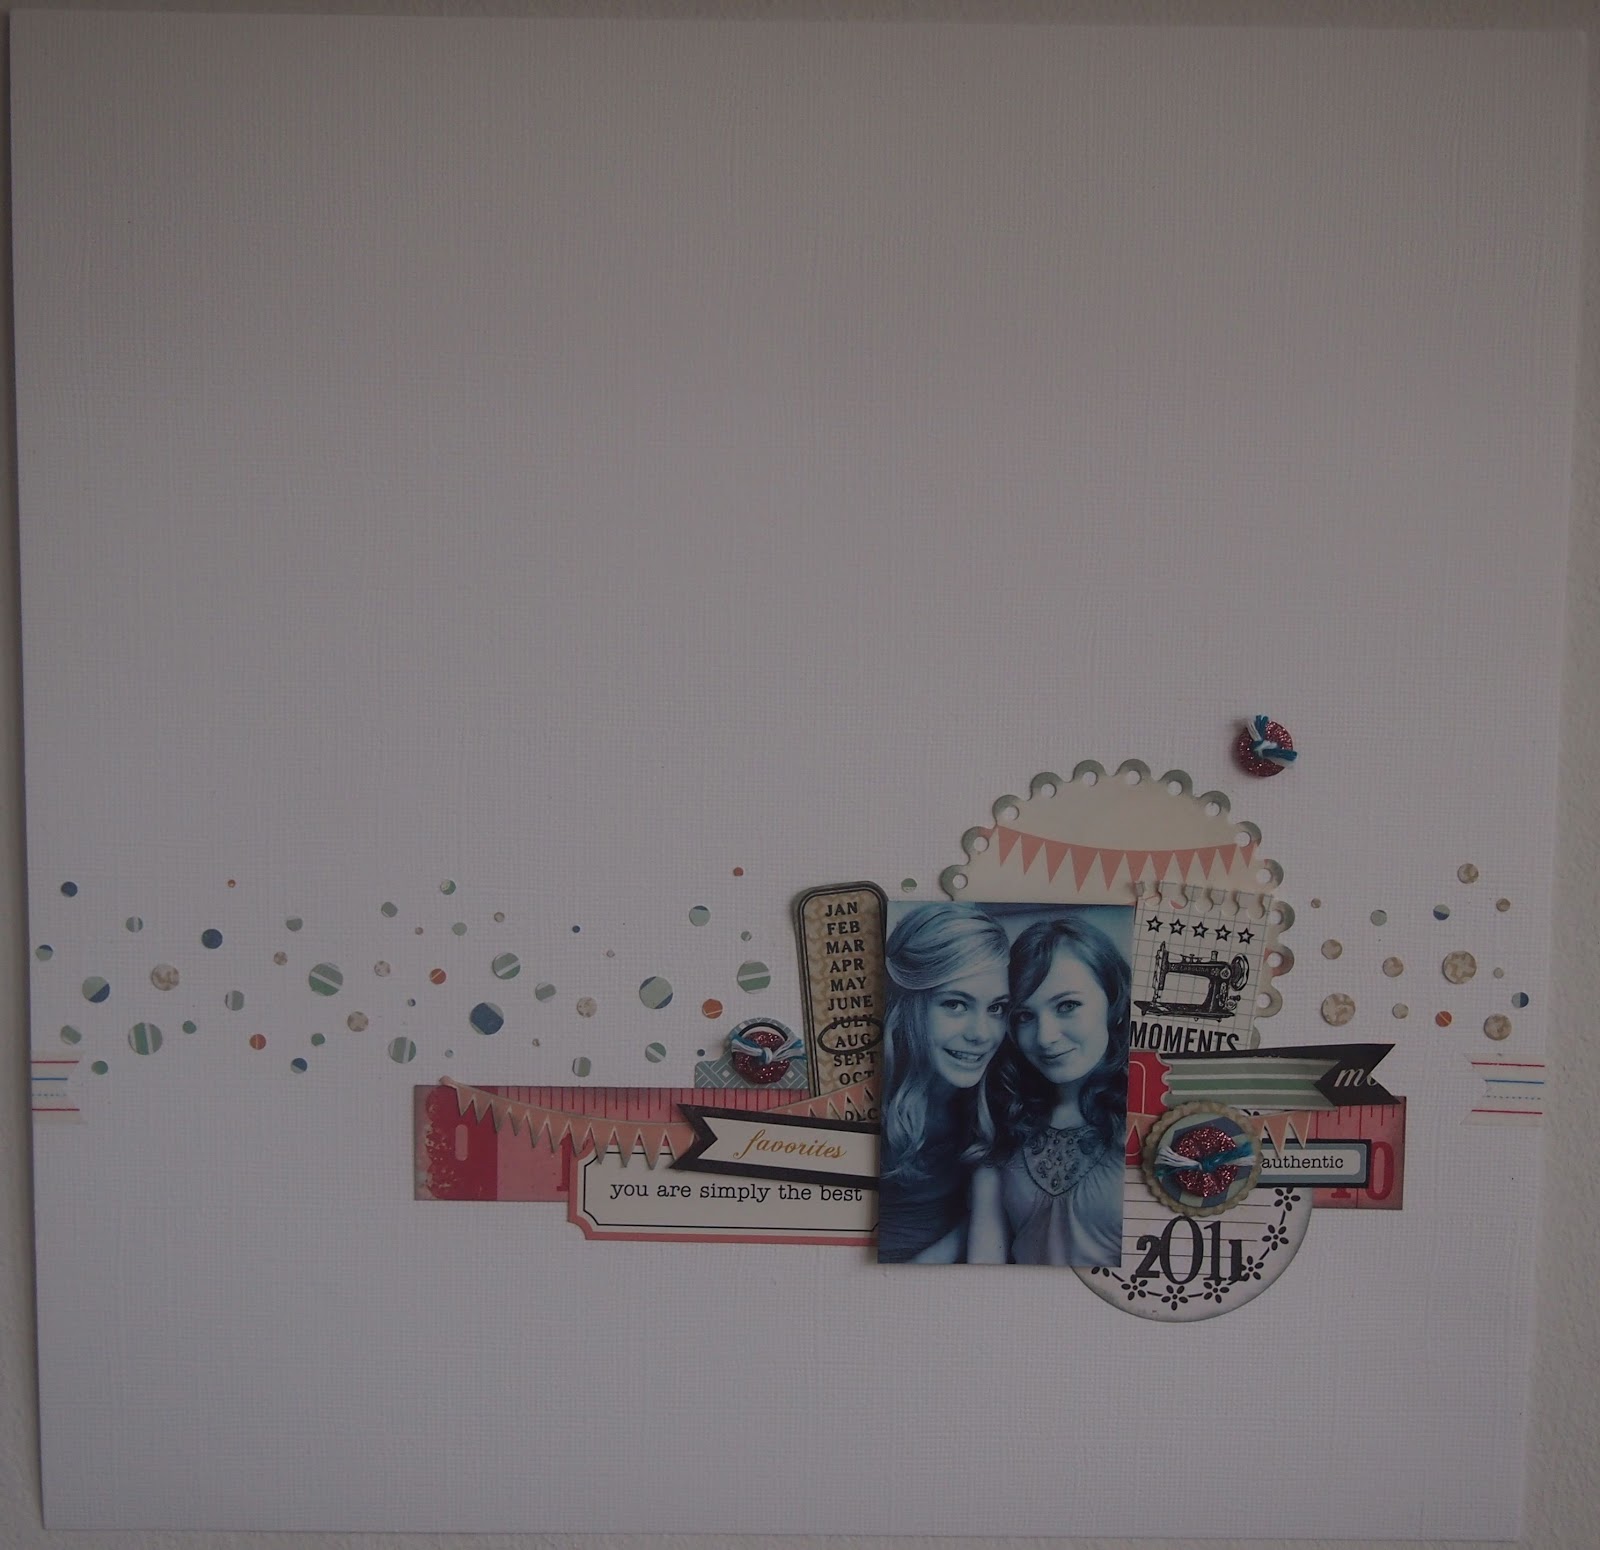
Without further ado - here's the first layout you'll receive instructions for; apologies for the poor lighting - have you seen the weather today? :-(
I think you've all probably noticed, that I'm loving using small photos at the moment - another popular trend actually (bonus!). For this layout, I think a standard 4"x6" print would just be too large as we want to maintain as much of that white space as possible. If you don't have the facility to create a 2"x3" photo such as mine, don't worry - just bring along a photo that we can cut down to a smaller size.
I intended to create those cute little buttons for you all, but since using these ones, I've discovered that they're very brittle! I'll attempt to alter the ingredients list in my melting pot and see if I can improve them, but to be safe, if you want to use buttons and have some at home that co-ordinate, then do please bring them along.
Other bits and pieces that'll help you are: A glue pen or liquid glue with a very fine tip; A pick me up tool if you have one; A pair of fine detail scissors.
OK - that's project number 1... project 2 coming soon!
Hope you like!. xxx
Continuing on with our theme of exploring popular trends in the scrapbooking world, this month we're looking at confetti!
Without further ado - here's the first layout you'll receive instructions for; apologies for the poor lighting - have you seen the weather today? :-(
I think you've all probably noticed, that I'm loving using small photos at the moment - another popular trend actually (bonus!). For this layout, I think a standard 4"x6" print would just be too large as we want to maintain as much of that white space as possible. If you don't have the facility to create a 2"x3" photo such as mine, don't worry - just bring along a photo that we can cut down to a smaller size.
I intended to create those cute little buttons for you all, but since using these ones, I've discovered that they're very brittle! I'll attempt to alter the ingredients list in my melting pot and see if I can improve them, but to be safe, if you want to use buttons and have some at home that co-ordinate, then do please bring them along.
Other bits and pieces that'll help you are: A glue pen or liquid glue with a very fine tip; A pick me up tool if you have one; A pair of fine detail scissors.
OK - that's project number 1... project 2 coming soon!
Hope you like!. xxx
Thursday, 20 September 2012
PAPER-CUTS September 2012 Final Offerings...
Still on a kick with the layering...
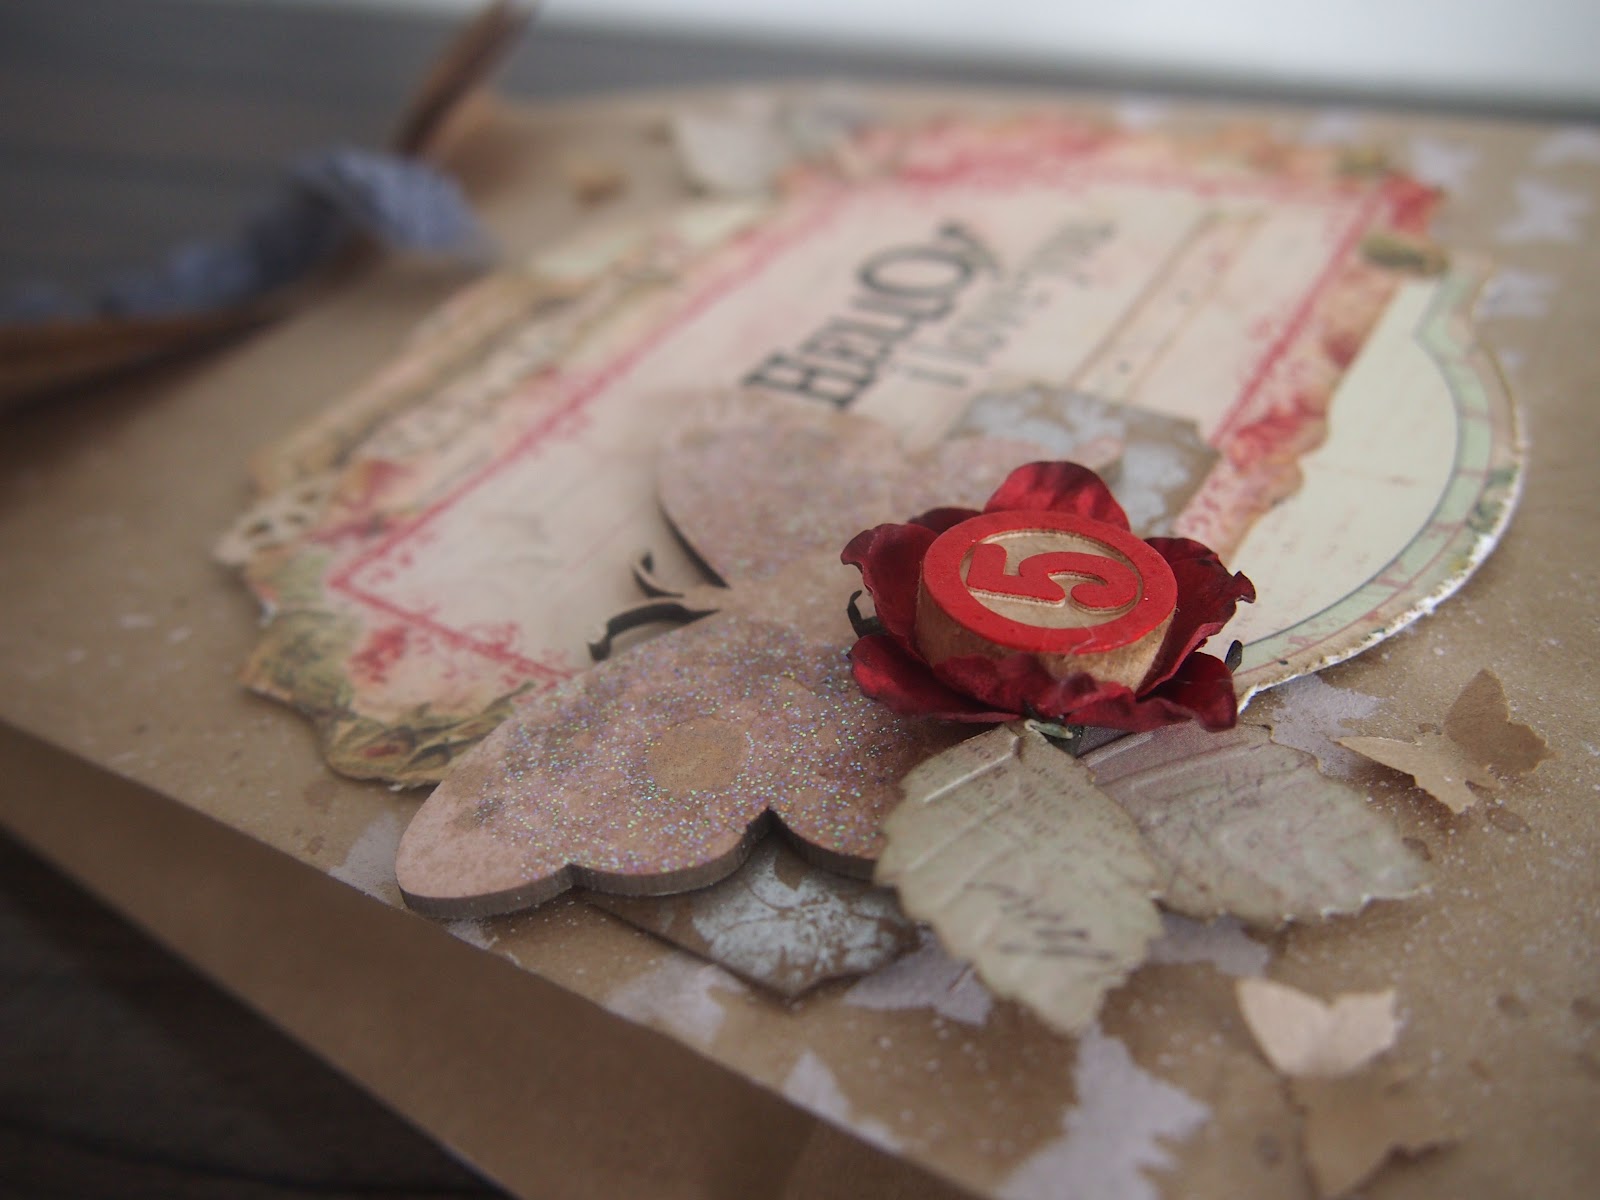
This little card was very quick and simple to make. Note the label in the middle with the stamping on it? that's made by cutting out the centre of one of the journalling cards and layering a neutral pattern behind it before stamping the sentiment. And I think the paper bag butterflies add a cute touch!
The final make (and I think my favourite) is this:
The paper bag comes in your kit (I cut off a chunk from the top to use as layers on both the scrapbook pages). That still left a bag PLENTY big enough to house a gift for a very special person! The layering here involves a hand made mask, stippled pink paint, splattering of said paint and glimmer mist and a whole lot more fussy cutting of the journalling cards! See the silver label behind the large butterfly? That's cut from the middle of the tag on the second layout - no point in wasting it if it can't be seen!
Here's a close up:
The butterfly is inked, then when dry, stamped with Versamark and a doily stamp. I then added an embossing powder which goes sticky when heated, added some glitter before heating again - ta da! Beautiful glittery doilies! Note again those paper bag punched butterflies - they look lovely on the backing they were made from!
So, nothing much to bring along to make these two - perhaps some of your favourite sentiment stamps if you have any, oh, and an edge distresser may speed things up a little.
So, see you all this weekend... hope you like! xxx
Wednesday, 19 September 2012
PAPER-CUTS September Take Two...
And yet more layering...
this time, layering with stamped borders, more paper, mica powder and Distress embossing powders. Another girly layout, but I think that's what the kit was calling to me! Again, lots of detail in this one, from the altered chipboard letters, to the beautiful glittered butterflies. Ooh and see the shipping tag behind the photo mat? That started life as a dull ol' brown tag... amazing what a little Versamark and mica powder will do!
Here's a little close up:
If you have mica powders, glitter, wet glue or versa mark at home, you may wish to bring them along to prevent having to stand in queue! And again, some chipboard alphas never look amiss when adding an extra bit of dimension.
Hope you like! xxx
Subscribe to:
Posts (Atom)